Nostalgic Peanut Butter Cookie Bars from Childhood Recipe
Introduction
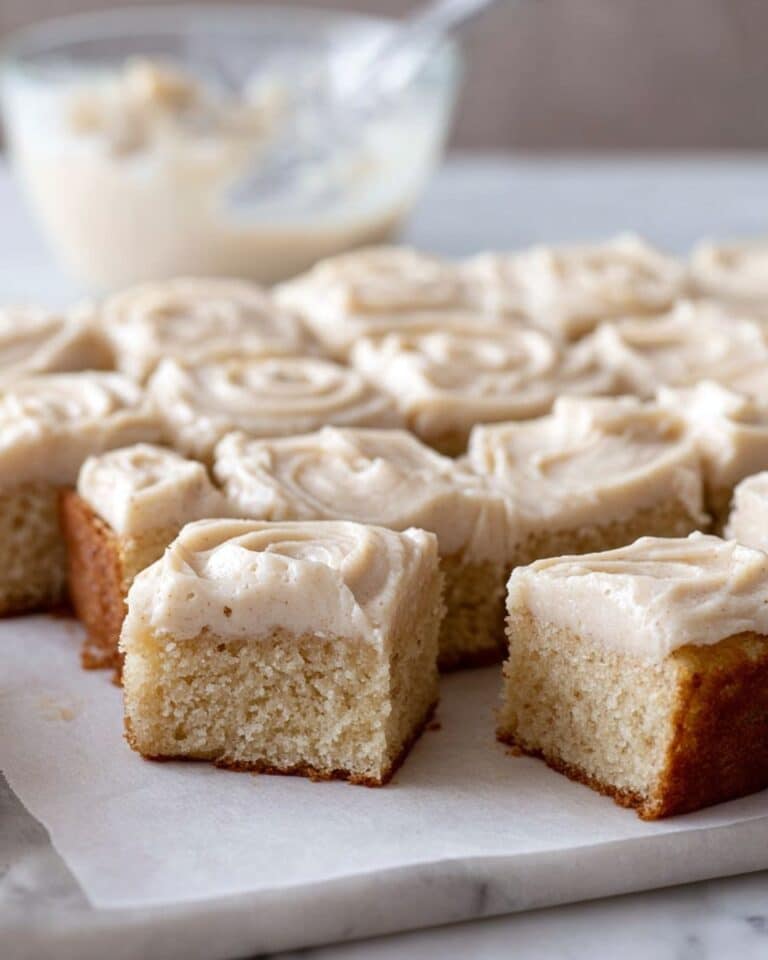
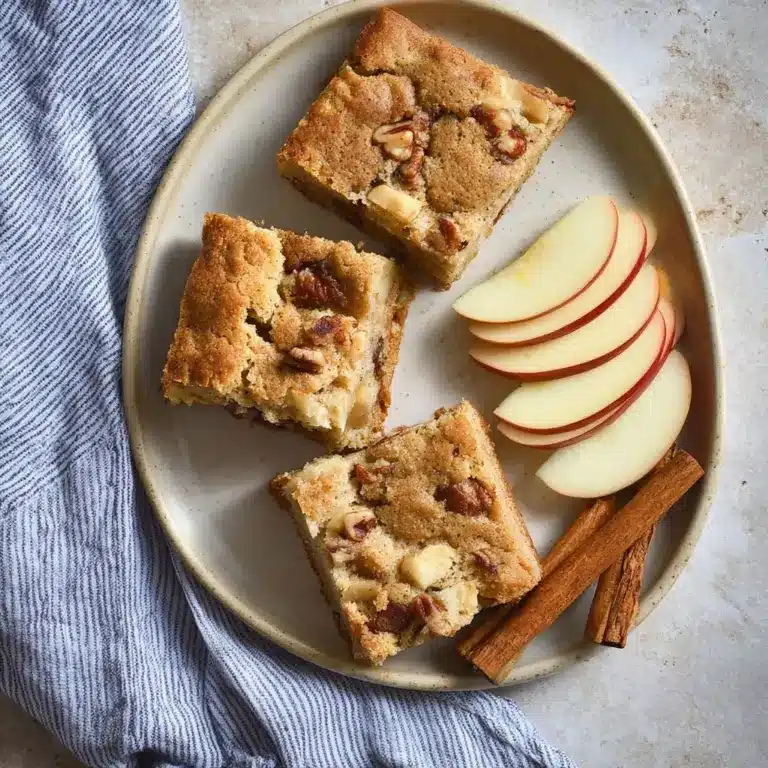
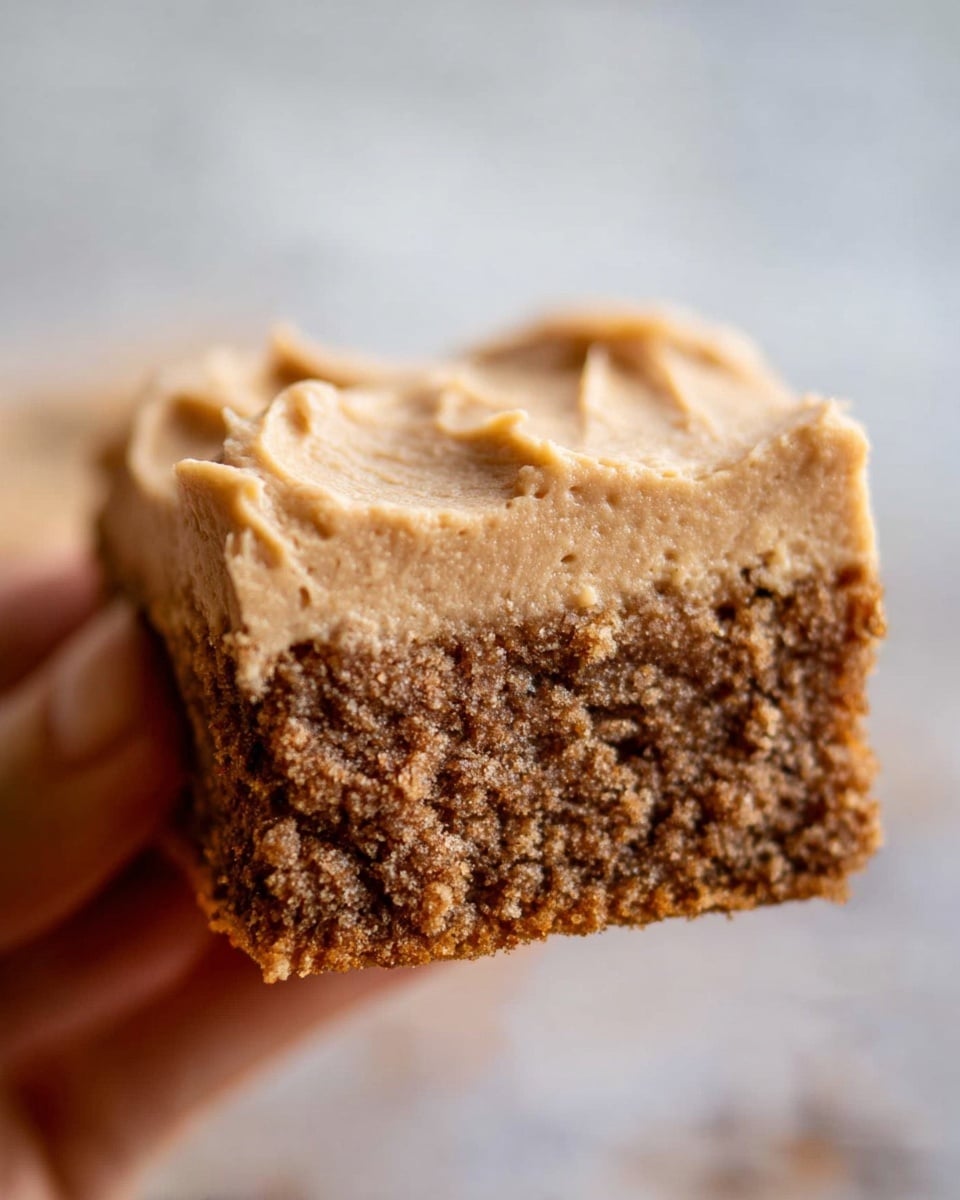
These Nostalgic Peanut Butter Cookie Bars bring back the comforting flavors of childhood with a soft, chewy base and rich peanut butter frosting. Perfect for sharing or enjoying as a sweet treat anytime, they capture the warmth and simplicity of school-day desserts.
Ingredients
- ½ cup unsalted butter, melted
- ½ cup creamy peanut butter
- 1 cup light brown sugar, packed
- ¼ cup granulated sugar
- 2 large eggs
- 1½ tsp vanilla extract
- 1 cup all-purpose flour
- ½ tsp baking powder
- ¼ tsp baking soda
- ¼ tsp salt
- ¼ cup creamy peanut butter (for frosting)
- 2 tbsp unsalted butter (for frosting)
- ¼ cup milk (plus more as needed, for frosting)
- 2 cups powdered sugar (for frosting)
- ½ tsp vanilla extract (for frosting)
Instructions
- Step 1: In a medium saucepan over low heat, melt the butter and peanut butter together until smooth and fragrant. Remove from heat and stir in brown sugar and granulated sugar until dissolved. Let the mixture cool for 5 minutes to avoid curdling when adding eggs.
- Step 2: Add eggs one at a time, whisking until smooth. Stir in vanilla extract. In a separate bowl, combine flour, baking powder, baking soda, and salt. Gradually fold the dry ingredients into the peanut butter mixture until just combined.
- Step 3: Preheat the oven to 350°F. Line a 9×13-inch baking pan with parchment paper or grease it lightly. Pour the batter evenly into the pan and smooth the top. Bake for 20 to 22 minutes, or until edges are golden and a toothpick comes out clean.
- Step 4: While bars bake, make the frosting. In a small saucepan over medium heat, melt butter and peanut butter until smooth. Stir in milk and vanilla, and bring to a gentle simmer. Remove from heat and whisk in powdered sugar gradually until smooth and pourable. Add more milk if needed.
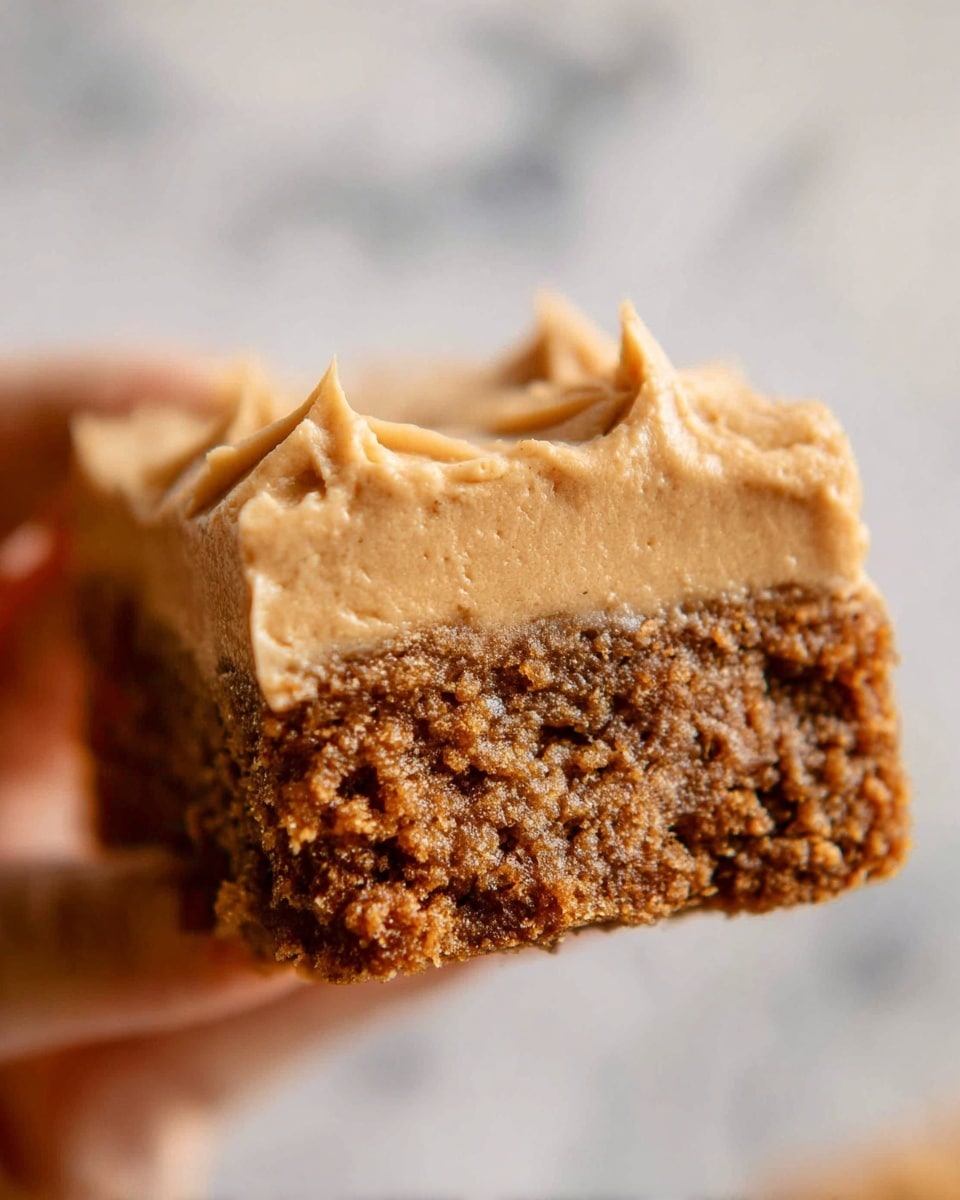
- Step 5: Pour warm frosting over the freshly baked bars and spread evenly. Let bars cool completely so the frosting sets with a glossy, cracked top.
- Step 6: Once cooled, cut into squares and serve. Enjoy your sweet taste of nostalgia!
Tips & Variations
- Use creamy, no-stir peanut butter for the smoothest texture; natural peanut butter can be used but stir well before adding.
- Reduce powdered sugar in the frosting for less sweetness or add a pinch of salt to balance flavors.
- Add ¼ cup crushed peanuts or chopped pretzels to the batter for a crunchy contrast.
- Bake a day ahead; the bars taste even better as the frosting settles into the base.
- Try drizzling melted dark chocolate over cooled frosting for a chocolate twist.
- Replace half the flour with oats for a chewy oatmeal peanut butter bar variation.
- Substitute gluten-free baking blend for flour to make it gluten-free.
- Use coconut oil instead of butter and reduce sugar slightly for a lighter, healthier version.
Storage
Store bars in an airtight container at room temperature for up to 4 days or refrigerate for up to a week. To freeze, wrap individual bars in plastic wrap, place in a freezer bag, and freeze for up to 3 months. Thaw at room temperature before serving. Reheat briefly if desired, but they’re delicious served cold or at room temperature.
How to Serve
Serve this delicious recipe with your favorite sides.
FAQs
Why are these called “lunch lady” cookie bars?
The name refers to classic school cafeteria desserts made by lunch ladies in the 1970s and 1980s. These bars recreate those rich, comforting flavors from simple pantry staples that many generations remember fondly.
Can I use crunchy peanut butter instead of creamy?
Yes, crunchy peanut butter works well and adds texture, but the frosting may be slightly thicker. If needed, add a little extra milk to achieve smooth spreading.
How do I prevent the frosting from being too runny?
If the frosting is too thin, let it cool slightly before spreading so it thickens. You can also add more powdered sugar a tablespoon at a time until it reaches the desired consistency.
Can I double the recipe for a crowd?
Absolutely. Double all ingredients and bake in a larger pan, about 11×15 inches. Baking time remains about the same, but start checking for doneness a few minutes earlier.
Can I make them nut-free?
Yes, you can substitute sunflower seed butter or soy nut butter for peanut butter. The flavor will be a bit different but still rich and delicious. Use a smooth version for best texture.
PrintNostalgic Peanut Butter Cookie Bars from Childhood Recipe
Nostalgic Peanut Butter Cookie Bars bring back the comforting flavors of classic school cafeteria treats with a soft, chewy peanut butter base topped with a smooth, sweet peanut butter frosting. Perfect for sharing or indulging in a homemade dessert that’s rich in flavor and full of childhood memories.
- Prep Time: 15 minutes
- Cook Time: 25 minutes
- Total Time: 40 minutes
- Yield: 16 bars 1x
- Category: Dessert
- Method: Baking
- Cuisine: American
Ingredients
For the Bars
- ½ cup unsalted butter, melted
- ½ cup creamy peanut butter
- 1 cup light brown sugar, packed
- ¼ cup granulated sugar
- 2 large eggs
- 1½ tsp vanilla extract
- 1 cup all-purpose flour
- ½ tsp baking powder
- ¼ tsp baking soda
- ¼ tsp salt
For the Frosting
- ¼ cup creamy peanut butter
- 2 tbsp unsalted butter
- ¼ cup milk (plus more as needed)
- 2 cups powdered sugar
- ½ tsp vanilla extract
Instructions
- Melt and blend for that nostalgic base: In a medium saucepan over low heat, melt the butter and peanut butter together until smooth and fragrant. Stir occasionally to ensure a glossy mixture. Remove from heat and stir in both sugars while still warm. Let cool 5 minutes before proceeding.
- Whisk in the heart of the batter: Add eggs one at a time, whisking until smooth after each. Stir in vanilla extract. In a separate bowl, combine flour, baking powder, baking soda, and salt. Gradually fold dry ingredients into the peanut butter mixture until just combined, forming a thick batter.
- Bake until golden and fragrant: Preheat oven to 350°F. Line or lightly grease a 9×13-inch baking pan. Pour batter evenly and smooth. Bake 20–22 minutes until edges are golden and a toothpick comes out clean. Avoid overbaking to keep the center soft.
- Simmer the frosting for that old-fashioned gloss: While bars bake, melt butter and peanut butter in a small saucepan over medium heat until smooth. Stir in milk and vanilla, bring to gentle simmer with small bubbles at edges. Remove from heat and whisk in powdered sugar one cup at a time until smooth and pourable. Adjust thickness by adding milk if needed.
- Pour and spread while warm: Immediately after baking, pour warm frosting over bars and spread evenly with a spatula. Allow frosting to set as bars cool completely before slicing, creating a glossy, slightly cracked topping.
- Slice and share the sweetness: Once cooled, cut into squares. Serve on parchment-lined plates or pack for lunch. Store in an airtight container for several days or freeze for longer storage.
Notes
- Use creamy, no-stir peanut butter for best texture; natural peanut butter requires thorough stirring.
- Reduce powdered sugar in frosting for less sweetness or add a pinch of salt to balance flavor.
- Add ¼ cup crushed peanuts or chopped pretzels to batter for crunch.
- Bake and frost a day ahead to enhance flavor as frosting melds with the base.
- Store bars at room temperature up to 4 days or refrigerate up to 1 week.
- Freeze individually wrapped bars up to 3 months; thaw before serving.
- For a gluten-free option, substitute flour with a 1:1 gluten-free baking blend.
- Try a chocolate drizzle or replace ½ cup flour with oats for variations.
Keywords: peanut butter cookie bars, nostalgic dessert, school cafeteria cookies, soft and chewy bars, homemade peanut butter dessert