Garlic Parmesan Recipe
Introduction
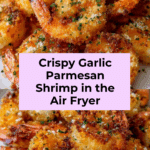
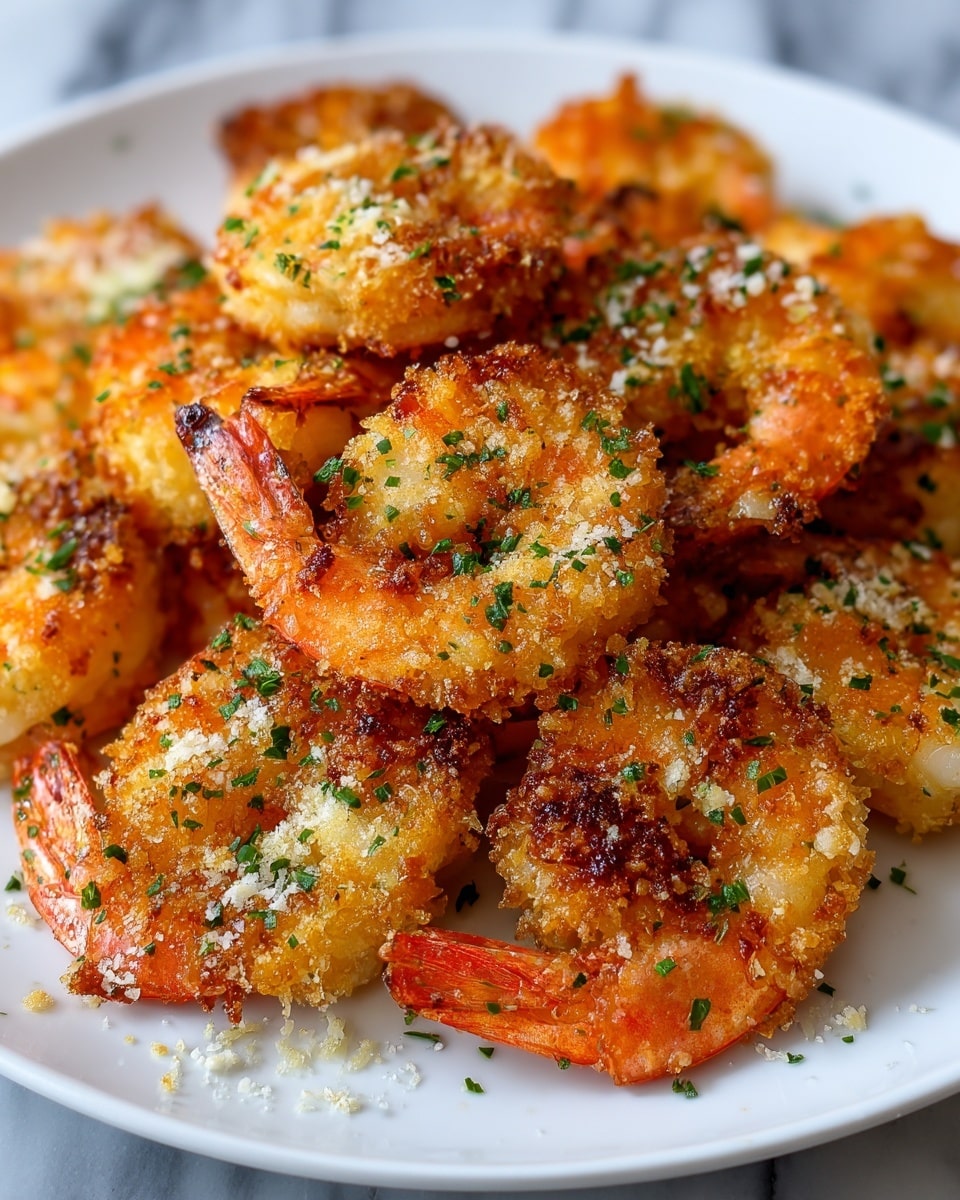
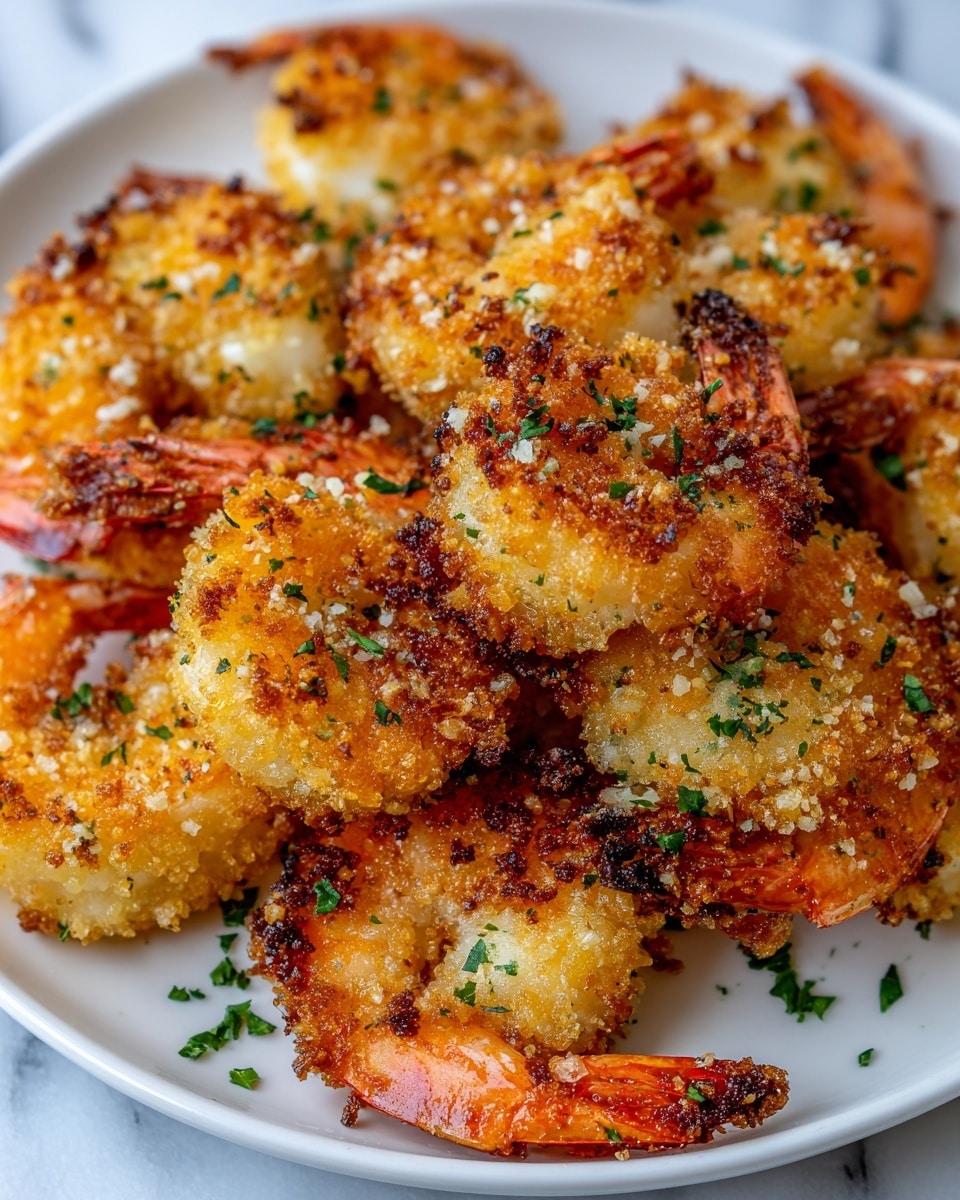
Garlic Parmesan Shrimp is a quick and flavorful dish that combines tender shrimp with savory garlic and rich Parmesan cheese. Perfect as an appetizer or a main, it’s easily made in the air fryer for a crispy, golden finish every time.
Ingredients
- 1 pound large shrimp, peeled and deveined
- 2 tablespoons olive oil
- 4 cloves garlic, minced
- 1 teaspoon paprika
- 1/2 teaspoon salt
- 1/2 teaspoon black pepper
- 1/2 cup grated Parmesan cheese
- 2 tablespoons fresh parsley, chopped
- lemon wedges, for serving
Instructions
- Step 1: Preheat your air fryer to 400°F (200°C) for about 5 minutes.
- Step 2: In a mixing bowl, combine the shrimp with olive oil, minced garlic, paprika, salt, and black pepper. Toss well to coat the shrimp evenly.
- Step 3: Sprinkle the grated Parmesan cheese over the shrimp and gently toss again to ensure thorough coating.
- Step 4: Lightly spray the air fryer basket with cooking spray to prevent sticking.
- Step 5: Arrange the shrimp in a single layer in the air fryer basket. Cook in batches if necessary to avoid overcrowding.
- Step 6: Air fry the shrimp for 6-8 minutes, shaking the basket halfway through to ensure even cooking. The shrimp should be cooked through and golden.
- Step 7: Remove the shrimp carefully and transfer them to a serving platter.
- Step 8: Garnish with fresh chopped parsley and serve with lemon wedges on the side.
Tips & Variations
- Use raw shrimp for best results; pre-cooked shrimp won’t crisp up properly in the air fryer.
- Adjust the garlic amount to suit your taste preference for a milder or stronger flavor.
- For a spicy kick, add a pinch of cayenne pepper along with the paprika.
- Serve over pasta or a fresh salad to turn this into a complete meal.
Storage
Store leftover shrimp in an airtight container in the refrigerator for up to 2 days. Reheat gently in the air fryer or a skillet to maintain crispness. Avoid microwaving as it may make the shrimp rubbery.
How to Serve
Serve this delicious recipe with your favorite sides.
FAQs
Can I use frozen shrimp for this recipe?
Yes, but make sure to thaw and pat them dry thoroughly before cooking to ensure even seasoning and crispiness.
What should I serve with Garlic Parmesan Shrimp?
This dish pairs well with steamed vegetables, rice, pasta, or a crisp green salad for a light and balanced meal.
PrintGarlic Parmesan Recipe

This Garlic Parmesan Shrimp recipe is a quick and flavorful dish that combines succulent shrimp with a savory blend of garlic, paprika, and Parmesan cheese. Cooked to perfection in an air fryer, these shrimp are crispy on the outside and tender inside, making for a perfect appetizer or main course served with fresh parsley and lemon wedges.
- Prep Time: 10 minutes
- Cook Time: 8 minutes
- Total Time: 18 minutes
- Yield: 4 servings 1x
- Category: Appetizer
- Method: Air Frying
- Cuisine: American
Ingredients
Shrimp and Marinade
- 1 pound large shrimp, peeled and deveined (raw)
- 2 tablespoons olive oil
- 4 cloves garlic, minced
- 1 teaspoon paprika
- 1/2 teaspoon salt
- 1/2 teaspoon black pepper
Coating and Garnish
- 1/2 cup grated Parmesan cheese
- 2 tablespoons fresh parsley, chopped
- Lemon wedges, for serving
Instructions
- Preheat Air Fryer: Preheat your air fryer to 400°F (200°C) for about 5 minutes to ensure it reaches the optimal temperature for cooking shrimp evenly.
- Mix Shrimp and Seasoning: In a mixing bowl, combine the peeled and deveined shrimp with olive oil, minced garlic, paprika, salt, and black pepper. Mix well until all shrimp are evenly coated with the seasoning mixture.
- Coat with Parmesan: Sprinkle the grated Parmesan cheese over the seasoned shrimp and toss gently to ensure each shrimp is thoroughly coated with the cheese.
- Prepare Air Fryer Basket: Lightly spray the air fryer basket with cooking spray to prevent the shrimp from sticking during cooking.
- Arrange Shrimp: Place the shrimp in a single layer in the air fryer basket. Depending on the size of your air fryer, you may need to cook the shrimp in batches to avoid overcrowding.
- Cook Shrimp: Cook in the air fryer for 6-8 minutes, shaking the basket halfway through to promote even cooking. The shrimp should be opaque, cooked through, and lightly golden on the surface.
- Serve: Carefully remove the shrimp from the air fryer and transfer them to a serving platter. Garnish with freshly chopped parsley and serve immediately with lemon wedges on the side for an extra burst of flavor.
Notes
- Use raw shrimp for best results; pre-cooked shrimp will not crisp properly.
- Adjust garlic quantity to your taste preference for a milder or stronger flavor.
- To avoid overcrowding, cook shrimp in batches if your air fryer basket is small.
- Serve immediately to enjoy the shrimp’s crispy texture.
Keywords: Garlic Parmesan Shrimp, Air Fryer Shrimp, Easy Shrimp Recipe, Quick Appetizer, Parmesan Garlic Seafood