Chocolate Caramel Recipe
Introduction
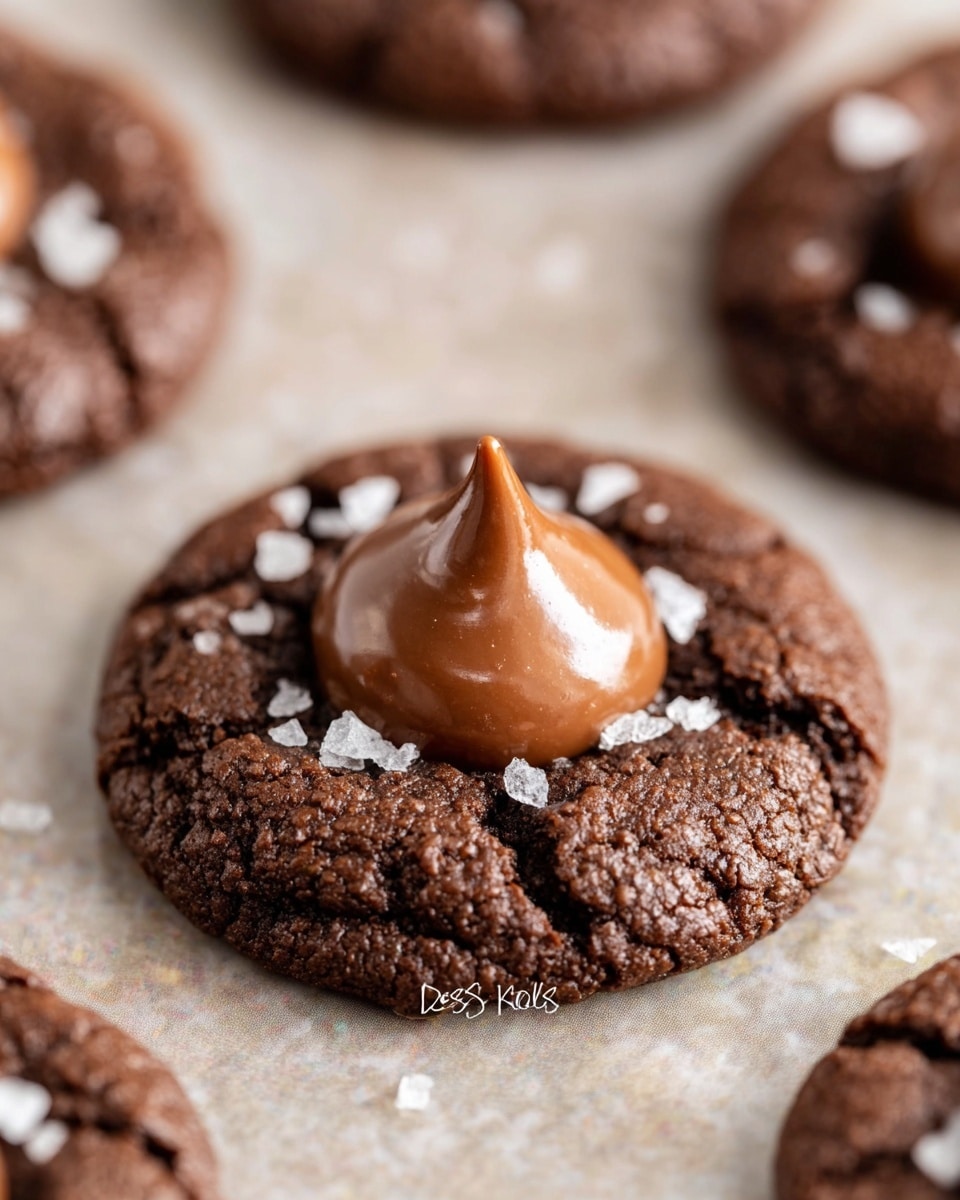
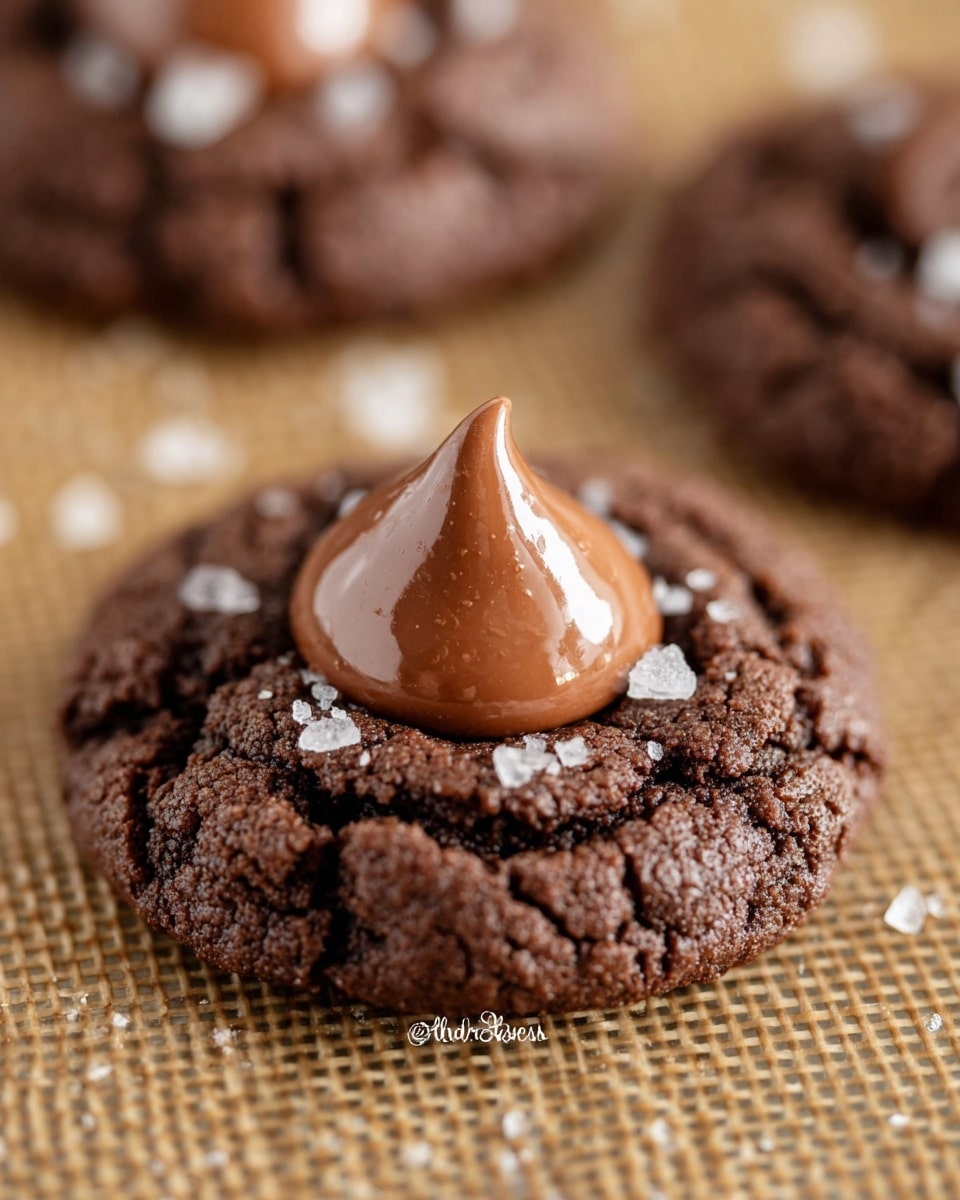
Chocolate Blossoms are soft, chocolatey cookies topped with melty caramel centers, creating a perfect balance of rich and sweet flavors. These delightful treats are easy to make and sure to impress friends and family.
Ingredients
- 1 3/4 cup All-Purpose Flour
- 1 tsp Baking Powder
- 1 tsp Ground Cinnamon
- 1/2 tsp Salt
- 1/2 cup Dutch Process Baking Cocoa
- 1/2 cup Unsalted Butter (room temperature)
- 1/2 cup Granulated Sugar (plus additional for coating of cookies)
- 1/2 cup Light Brown Sugar
- 1 Large Egg
- 2 tbsp Milk (1%, 2%, or Fat-free)
- 1 tsp Vanilla Extract
- 10 oz bag of Hershey Caramel Kisses
- Sea Salt Flakes (optional)
- Salted Caramel Sugar (optional)
- Dark Cocoa Sugar (optional)
Instructions
- Step 1: In a medium bowl, whisk together the all-purpose flour, baking powder, ground cinnamon, salt, and Dutch process baking cocoa. Set aside.
- Step 2: Using a hand mixer or stand mixer with the paddle attachment, cream together the unsalted butter, granulated sugar, and light brown sugar on medium-high speed until light and fluffy.
- Step 3: Add the large egg, milk, and vanilla extract to the butter mixture. Scrape down the sides of the bowl as needed and mix until combined.
- Step 4: Reduce the mixer speed and gradually add the dry ingredients until the dough is fully blended. The dough will be thick.
- Step 5: Tightly cover the mixing bowl with plastic wrap and chill the dough for at least 1 hour or overnight.
- Step 6: When ready, preheat your oven to 375ºF and position the oven rack on the second level from the bottom. Line two cookie sheets with parchment paper or silicone mats.
- Step 7: Scoop out small portions of dough and shape each into 1-inch balls.
- Step 8: Roll each ball in granulated sugar or your choice of flavored sugars. Place them on the cookie sheets about 2 inches apart. Sprinkle with sea salt flakes if desired.
- Step 9: Bake for 6-8 minutes at 375ºF. Meanwhile, unwrap the Hershey Caramel Kisses you’ll need.
- Step 10: Remove the cookies from the oven and immediately press a caramel kiss on top of each cookie, gently pressing down to spread the cookie slightly. The surface should crack, which is normal. Return the cookies to the oven and bake for an additional 2 minutes.
- Step 11: Let the cookies cool on the baking sheet for 5 minutes, then transfer to a wire rack to cool completely.
- Step 12: Store the cookies in an airtight container or cookie jar with a slice of bread to maintain softness for up to a week.
Tips & Variations
- Substitute flavored sugars like salted caramel or dark cocoa sugar for rolling to add an extra twist to your cookies.
- Chilling the dough overnight deepens the flavors and helps the cookies keep their shape.
- If you prefer, you can swap Hershey Caramel Kisses with other flavored chocolate kisses for variety.
- For softer cookies, avoid baking longer than recommended; the caramel will continue melting on warm cookies.
Storage
Store chocolate blossoms in an airtight container at room temperature for up to one week. Adding a slice of bread helps keep the cookies moist. Reheat gently in the microwave for a few seconds if you want the caramel soft and melty again.
How to Serve
Serve this delicious recipe with your favorite sides.
FAQs
Can I make the dough ahead of time?
Yes, chilling the dough overnight not only makes it easier to handle but also enhances the flavors.
What if I don’t have Hershey Caramel Kisses?
You can use any individually wrapped caramel chocolates or skip the caramel center altogether and sprinkle chopped nuts or chocolate chips on top before baking.
PrintChocolate Caramel Recipe

Chocolate Blossoms are soft and chewy cocoa cookies topped with a melted Hershey Caramel Kiss center. These festive treats combine rich cocoa, warm cinnamon, and caramel for a deliciously gooey cookie perfect for sharing or gift-giving.
- Prep Time: 15 minutes
- Cook Time: 10 minutes
- Total Time: 1 hour 25 minutes
- Yield: Approximately 24 cookies 1x
- Category: Dessert
- Method: Baking
- Cuisine: American
Ingredients
Dry Ingredients
- 1 3/4 cup All-Purpose Flour
- 1 tsp Baking Powder
- 1 tsp Ground Cinnamon
- 1/2 tsp Salt
- 1/2 cup Dutch Process Baking Cocoa
Wet Ingredients
- 1/2 cup Unsalted Butter (room temperature)
- 1/2 cup Granulated Sugar (plus additional for coating)
- 1/2 cup Light Brown Sugar
- 1 Large Egg
- 2 tbsp Milk (1%, 2%, or Fat-free)
- 1 tsp Vanilla Extract
Topping
- 10 oz bag of Hershey Caramel Kisses
- Sea Salt Flakes (optional)
- Salted Caramel Sugar (optional)
- Dark Cocoa Sugar (optional)
Instructions
- Mix dry ingredients: In a medium bowl, whisk together the all-purpose flour, baking powder, ground cinnamon, salt, and dutch process baking cocoa. Set aside.
- Cream butter and sugars: Using a hand mixer or stand mixer with paddle attachment, cream unsalted butter, granulated sugar, and light brown sugar on medium-high speed until light and fluffy.
- Add liquids: Mix in the large egg, milk, and vanilla extract. Scrape down the bowl sides to ensure even mixing.
- Combine dry and wet mixtures: Reduce mixer speed to low and gradually add the whisked dry ingredients. Blend until dough is thick and uniform.
- Chill dough: Wrap the mixing bowl tightly with plastic wrap and chill the dough for at least 1 hour or overnight to firm up.
- Prepare oven and baking sheets: Position oven rack to second level (just above center) and preheat oven to 375ºF. Line two cookie sheets with parchment paper or silicone baking mats.
- Form dough balls: Scoop spoonfuls of dough and shape into 1-inch balls.
- Coat and place cookies: Roll each dough ball in granulated sugar or your choice of flavored sugar, then arrange on cookie sheet about 2 inches apart. Optionally sprinkle sea salt flakes on top.
- Bake initial cookies: Bake for 6-8 minutes at 375ºF. Meanwhile, unwrap Hershey Caramel Kisses.
- Add caramel kiss topping: Remove cookies from oven and immediately press one Hershey Caramel Kiss onto each cookie, gently spreading the cookie slightly to create cracks.
- Finish baking: Return cookies to oven and bake for an additional 2 minutes to melt caramel kisses.
- Cool: Let cookies cool for 5 minutes on baking sheet, then transfer to a wire rack to cool completely.
- Store: Keep cookies in an airtight container or cookie jar with a slice of bread to maintain freshness for up to a week.
Notes
- Chilling the dough is essential for easy handling and better texture.
- You can customize sugar coatings with salted caramel or dark cocoa sugar for added flavor.
- Pressing the caramel kiss while warm creates signature cracks in the cookie.
- Store with a slice of bread to keep cookies soft longer.
- Sea salt flakes enhance the caramel’s sweetness but are optional.
Keywords: chocolate blossoms, caramel kiss cookies, cocoa cookies, holiday cookies, chocolate caramel cookies, easy cookie recipe, festive treats