Irresistible Mint Chocolate Cookies Recipe
Introduction
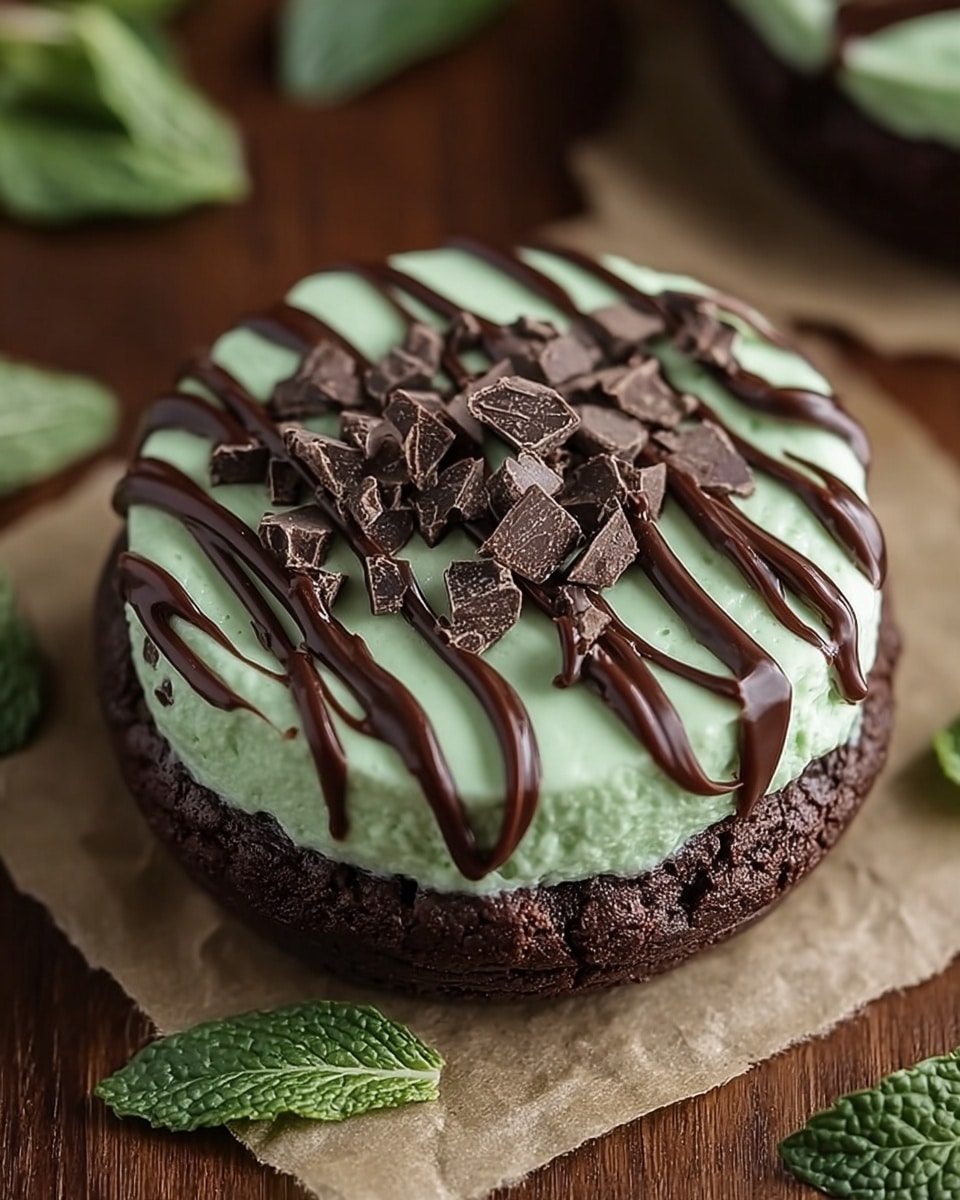
These Mint Chocolate Cookies combine the refreshing flavor of peppermint with rich cocoa and melty chocolate chips, creating a perfect treat for any sweet tooth. Whether for a holiday or an everyday indulgence, these cookies are sure to satisfy your cravings.
Ingredients
- 1 cup Unsalted Butter (can substitute with vegan butter for a dairy-free option)
- 3/4 cup Granulated Sugar
- 3/4 cup Brown Sugar (can be replaced with coconut sugar)
- 2 large Eggs (aquafaba works as a vegan substitute)
- 1 teaspoon Pure Vanilla Extract (swap with almond extract for a different twist)
- 1 teaspoon Peppermint Extract (fresh chopped mint leaves can enhance freshness)
- 2 cups All-Purpose Flour (use a gluten-free flour blend for gluten-free cookies)
- 3/4 cup Unsweetened Cocoa Powder (Dutch-process cocoa yields a milder taste)
- 1 teaspoon Baking Soda
- 1/2 teaspoon Salt (use sea salt for an extra flavor boost)
- 1 cup Semi-Sweet Chocolate Chips (dark chocolate chips can create a richer taste)
- 1/2 cup White Chocolate Chips (optional, omit for a more classic flavor)
- A few drops Green Food Coloring (optional, skip for a traditional look)
Instructions
- Step 1: Preheat your oven to 350°F (175°C) and line two baking sheets with parchment paper.
- Step 2: In a large mixing bowl, cream softened unsalted butter, granulated sugar, and brown sugar together on medium speed until light and fluffy.
- Step 3: Add in the large eggs, pure vanilla extract, and peppermint extract, mixing on low speed until fully combined.
- Step 4: In a separate bowl, sift together all-purpose flour, unsweetened cocoa powder, baking soda, and salt, then gradually add to the wet ingredients.
- Step 5: Gently fold in semi-sweet and white chocolate chips, and if using, add green food coloring.
- Step 6: Drop rounded tablespoons of cookie dough onto the prepared baking sheets, spaced about 2 inches apart.
- Step 7: Bake for 10–12 minutes, ensuring edges are set while centers remain slightly soft.
- Step 8: Let cookies cool on sheets for about 5 minutes before transferring to wire racks to cool completely.
- Step 9: Serve and enjoy your Mint Chocolate Cookies!
Tips & Variations
- For chewier cookies, refrigerate the dough for 30 minutes before baking.
- Use Dutch-process cocoa powder for a smoother, less bitter chocolate flavor.
- Omit white chocolate chips and food coloring for a classic chocolate-mint cookie look.
- Fresh chopped mint leaves can be added to the dough instead of extract for extra freshness.
Storage
Store baked cookies in an airtight container at room temperature for up to 5 days. To reheat, warm gently in the microwave for 10-15 seconds or enjoy at room temperature for the best texture.
How to Serve
Serve this delicious recipe with your favorite sides.
FAQs
Can I make these cookies vegan?
Yes, you can substitute the unsalted butter with vegan butter and replace the eggs with aquafaba (the liquid from canned chickpeas) to make the recipe vegan-friendly.
What if I don’t have peppermint extract?
If you don’t have peppermint extract, you can substitute it with fresh chopped mint leaves for a natural mint flavor, or omit it altogether for a classic chocolate cookie.
PrintIrresistible Mint Chocolate Cookies Recipe

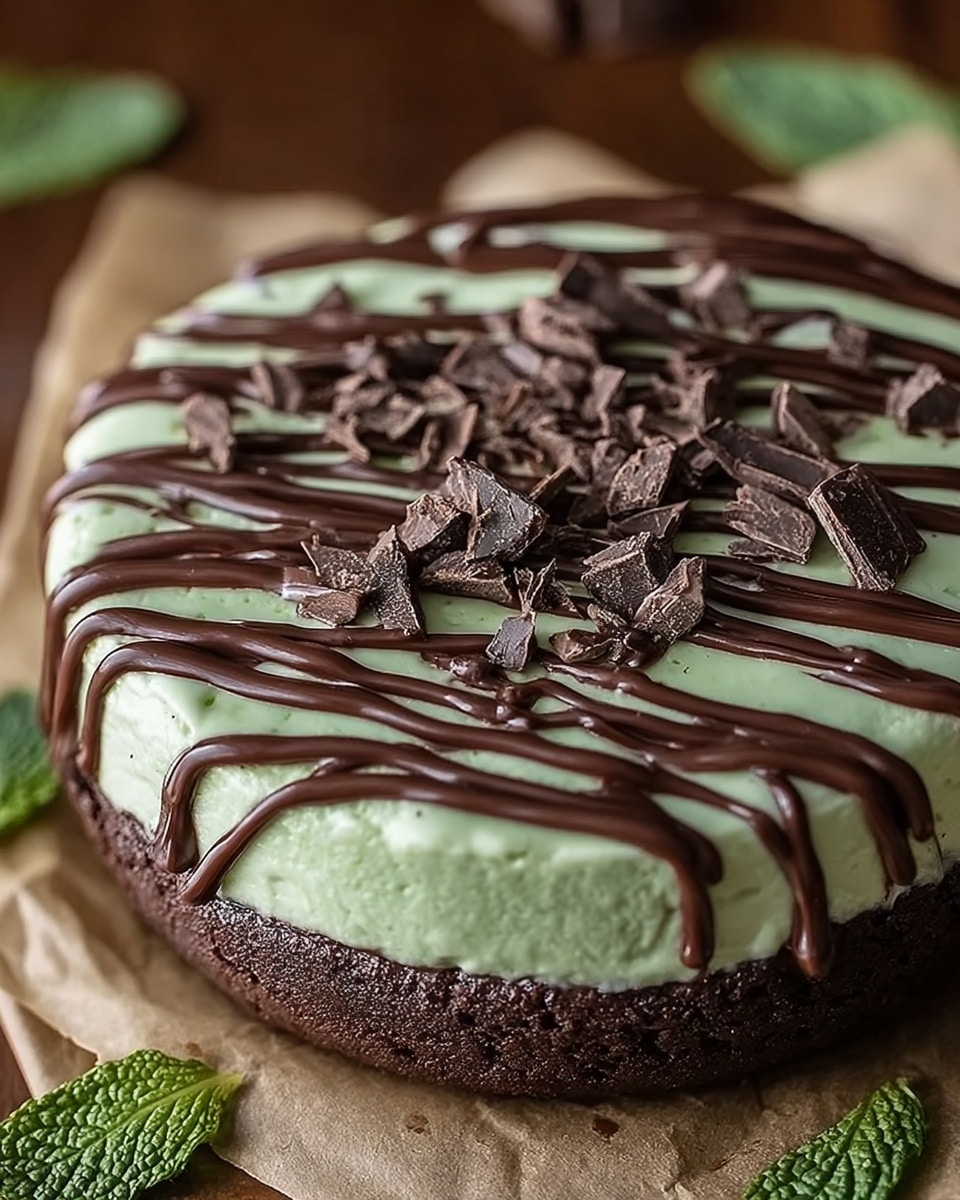
Indulge your sweet tooth with these irresistible Mint Chocolate Cookies, combining rich cocoa, refreshing peppermint, and a delightful mix of semi-sweet and white chocolate chips for a perfectly balanced treat.
- Prep Time: 15 minutes
- Cook Time: 12 minutes
- Total Time: 27 minutes
- Yield: 24 cookies 1x
- Category: Desserts
- Method: Baking
- Cuisine: American
Ingredients
For the Cookie Dough
- 1 cup Unsalted Butter (Can substitute with vegan butter for a dairy-free option)
- 3/4 cup Granulated Sugar
- 3/4 cup Brown Sugar (Can be replaced with coconut sugar)
- 2 large Eggs (Aquafaba works as a vegan substitute)
- 1 teaspoon Pure Vanilla Extract (Swap with almond extract for a different twist)
- 1 teaspoon Peppermint Extract (Fresh chopped mint leaves can enhance freshness)
- 2 cups All-Purpose Flour (Use a gluten-free flour blend for gluten-free cookies)
- 3/4 cup Unsweetened Cocoa Powder (Dutch-process cocoa yields a milder taste)
- 1 teaspoon Baking Soda (No substitutes needed)
- 1/2 teaspoon Salt (Use sea salt for an extra flavor boost)
- 1 cup Semi-Sweet Chocolate Chips (Dark chocolate chips can create a richer taste)
- 1/2 cup White Chocolate Chips (optional, omit for classic flavor)
- A few drops Green Food Coloring (optional, skip for traditional look)
Instructions
- Preheat Oven: Preheat your oven to 350°F (175°C) and line two baking sheets with parchment paper to prevent sticking.
- Cream Butter and Sugars: In a large mixing bowl, cream softened unsalted butter, granulated sugar, and brown sugar together on medium speed until the mixture is light and fluffy, ensuring a smooth base for the dough.
- Add Wet Ingredients: Mix in the large eggs, pure vanilla extract, and peppermint extract on low speed until fully combined, ensuring the flavors blend well.
- Combine Dry Ingredients: In a separate bowl, sift together all-purpose flour, unsweetened cocoa powder, baking soda, and salt to evenly distribute leavening and flavor components.
- Mix Dry and Wet Ingredients: Gradually add the dry mixture to the wet ingredients, mixing gently to form a smooth, consistent cookie dough without overmixing.
- Add Chocolate Chips and Food Coloring: Fold in semi-sweet and white chocolate chips, and add green food coloring if using, to evenly distribute the chocolate and achieve the desired color.
- Shape Cookies: Drop rounded tablespoons of cookie dough onto the prepared baking sheets, spacing them about 2 inches apart to allow for spreading during baking.
- Bake Cookies: Bake for 10–12 minutes, watching closely until the edges are set but the centers remain slightly soft for the perfect texture.
- Cool: Allow cookies to cool on the baking sheets for about 5 minutes before transferring to wire racks to cool completely, which helps maintain their shape and texture.
- Serve and Enjoy: Serve your freshly baked Mint Chocolate Cookies and enjoy the perfect combination of rich chocolate and refreshing mint flavors.
Notes
- For chewier cookies, refrigerate the dough for 30 minutes before baking.
- Store baked cookies in an airtight container at room temperature for up to 5 days.
- Use vegan butter and aquafaba to make this recipe dairy-free and vegan-friendly.
- Swap peppermint extract with fresh chopped mint leaves for enhanced freshness.
- Omit white chocolate chips and food coloring for a more classic appearance and flavor.
Keywords: mint chocolate cookies, chocolate cookies, peppermint cookies, homemade cookies, holiday cookies, chocolate chip cookies, mint dessert