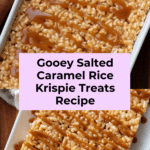
Salted Caramel Rice Krispie Treats Recipe
Introduction
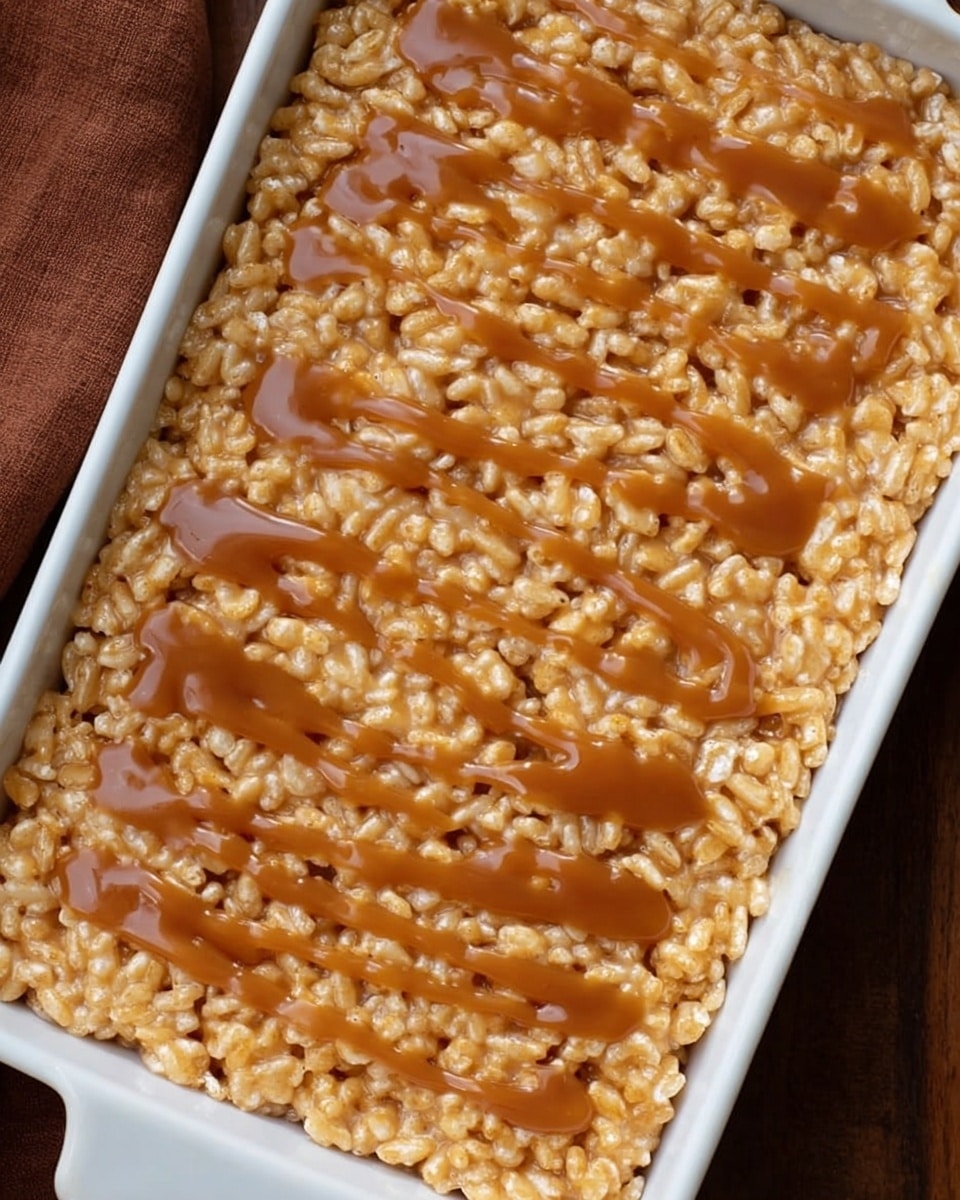
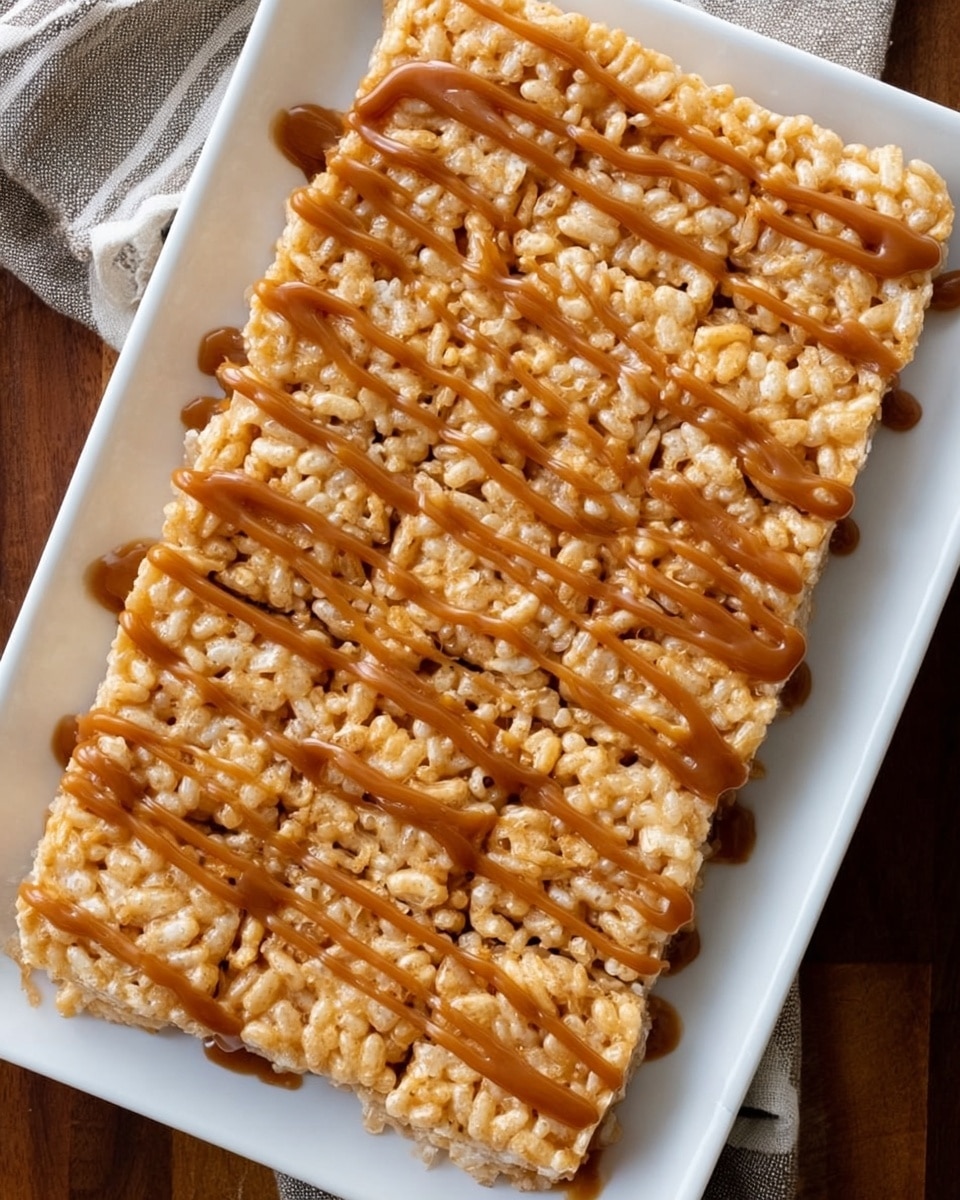
These Salted Caramel Rice Krispie Treats take the classic childhood favorite to the next level with rich caramel and a touch of saltiness. Soft, gooey, and crispy all at once, they make a perfect dessert or snack for any occasion.
Ingredients
- 1 cup (2 sticks / 227 g) unsalted butter
- ¾ cup (240 g) caramel sauce, divided
- ½ teaspoon kosher salt
- 1 bag (10 ounces) mini marshmallows, about 6 cups
- 10 cups (290 g) Rice Krispies cereal
- Kosher salt, for garnish
Instructions
- Step 1: Spray a 9×13-inch baking dish with non-stick cooking spray and set aside.
- Step 2: In a large pot over medium-low heat, melt the butter with ½ cup of the caramel sauce, stirring constantly.
- Step 3: Add kosher salt and mini marshmallows to the pot. Stir until the marshmallows have completely melted, then remove from heat.
- Step 4: Lightly spray a rubber spatula with nonstick spray to prevent sticking. Fold in the Rice Krispies cereal until everything is evenly coated.
- Step 5: Transfer the mixture to the prepared baking dish and press it into an even layer.
- Step 6: Allow the bars to cool to room temperature, about 30 minutes to 1 hour. Drizzle the remaining caramel sauce on top and sprinkle with kosher salt before cutting and serving.
Tips & Variations
- Use homemade caramel sauce for a richer flavor and better control over sweetness and saltiness.
- For extra crunch, toast the Rice Krispies slightly before mixing.
- Add chopped nuts or chocolate chips for additional texture and flavor.
Storage
Store the treats in an airtight container at room temperature for up to 3 days. For longer storage, keep them in the refrigerator for up to a week. To enjoy, bring them back to room temperature or warm briefly in the microwave.
How to Serve
Serve this delicious recipe with your favorite sides.
FAQs
Can I use regular marshmallows instead of mini marshmallows?
Yes, you can use regular marshmallows but you may need to cut them into smaller pieces so they melt evenly.
How do I prevent the treats from sticking to the spatula?
Spraying your spatula with nonstick spray or lightly buttering it helps prevent sticking when mixing the marshmallow and cereal mixture.
PrintSalted Caramel Rice Krispie Treats Recipe
These Salted Caramel Rice Krispie Treats are an elevated twist on the classic marshmallow bars, featuring rich butter, luscious caramel sauce, and a hint of kosher salt for the perfect balance of sweet and salty. Soft, gooey, and crispy, these treats are easy to make and perfect for dessert or a sweet snack.
- Prep Time: 10 minutes
- Cook Time: 10 minutes
- Total Time: 40-70 minutes
- Yield: 12 treats 1x
- Category: Dessert
- Method: Stovetop
- Cuisine: American
Ingredients
Base Mixture
- 1 cup (2 sticks / 227 g) unsalted butter
- ¾ cup (240 g) caramel sauce, divided
- ½ teaspoon kosher salt
- 1 bag (10 ounces) mini marshmallows, about 6 cups
- 10 cups (290 g) Rice Krispies cereal
For Garnish
- Kosher salt, for garnish
- Remaining caramel sauce (from the ¾ cup) for drizzle
Instructions
- Prepare the Pan: Spray a 9×13-inch baking dish generously with non-stick cooking spray and set aside to ensure the treats don’t stick when setting.
- Melt Butter and Caramel: In a large pot over medium-low heat, combine the butter and ½ cup of the caramel sauce. Stir constantly until the butter has completely melted and the mixture is smooth and well combined.
- Add Salt and Marshmallows: Stir in ½ teaspoon kosher salt and then add the mini marshmallows. Continue stirring the mixture until all the marshmallows have melted and dissolved into a smooth, gooey consistency. Remove the pot from heat immediately to prevent burning.
- Incorporate the Rice Krispies: Lightly spray a rubber spatula with non-stick spray to prevent sticking. Use the spatula to gently fold the Rice Krispies cereal into the melted marshmallow mixture, ensuring all the cereal is evenly coated with the caramel marshmallow mixture.
- Press into Pan: Transfer the coated cereal mixture to the prepared baking dish. Press it down firmly and evenly to form a compact layer that will hold its shape when cut.
- Cool and Garnish: Allow the bars to cool completely at room temperature for 30 minutes to an hour. Once cooled, drizzle the remaining caramel sauce over the top and sprinkle with additional kosher salt to enhance the salted caramel flavor.
- Serve: Cut into 12 even bars and serve. Enjoy the perfect combination of gooey, crispy, sweet, and salty in every bite.
Notes
- Using non-stick spray on the spatula helps to mix the sticky marshmallow mixture without it clinging excessively to utensils.
- Be sure to melt the marshmallows over medium-low heat to prevent scorching or burning the sugar.
- Pressing the mixture firmly into the pan ensures the bars hold together well when cut.
- Adjust the sprinkle of kosher salt on top to your taste preference for a more or less pronounced salty contrast.
- For an extra indulgent twist, add chopped nuts or a sprinkle of sea salt flakes on top with the caramel drizzle.
Keywords: Salted Caramel Rice Krispie Treats, Caramel Rice Krispies, Marshmallow Bars, Salted Caramel Dessert, Quick Treats