Red Velvet Cheesecake Thumbprints Recipe
Introduction
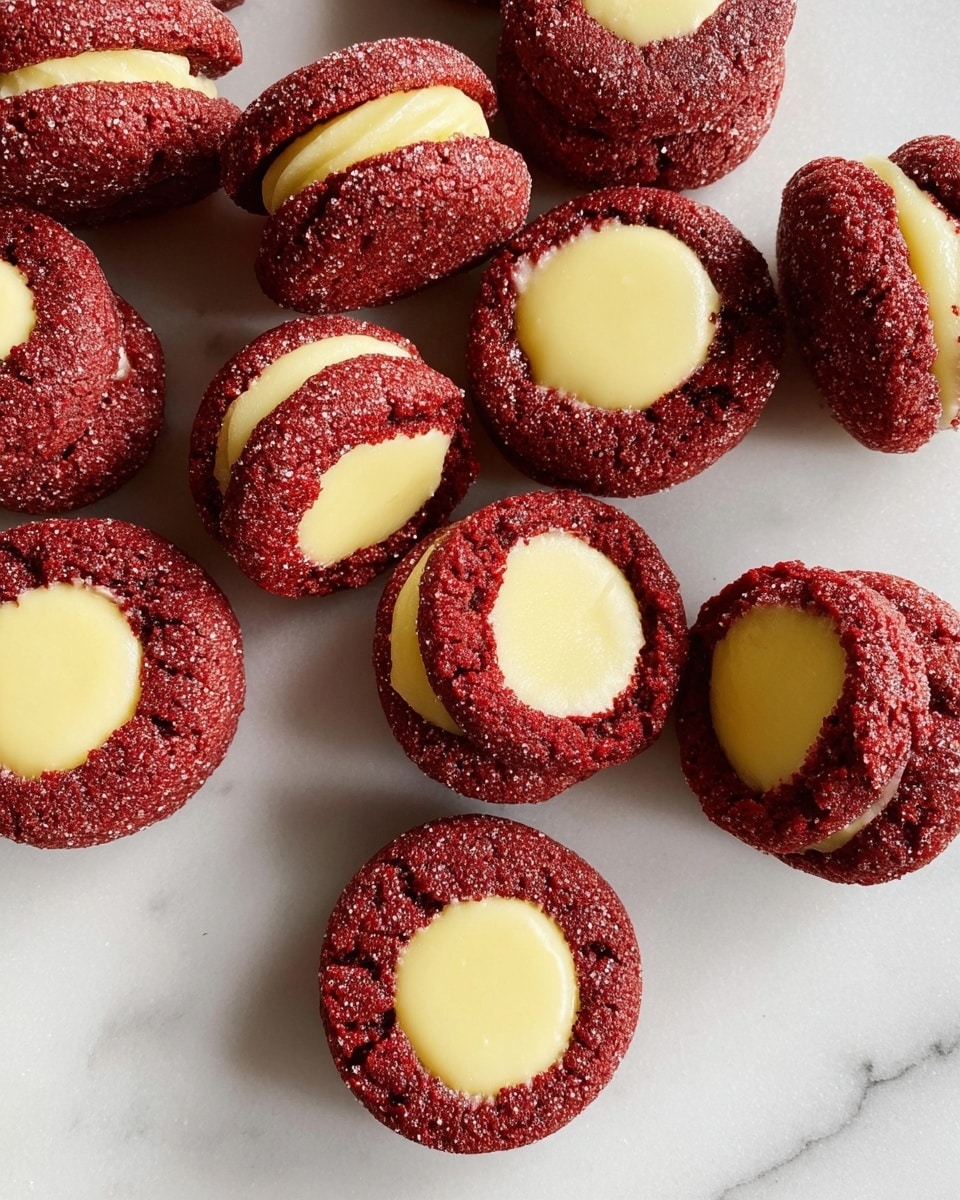
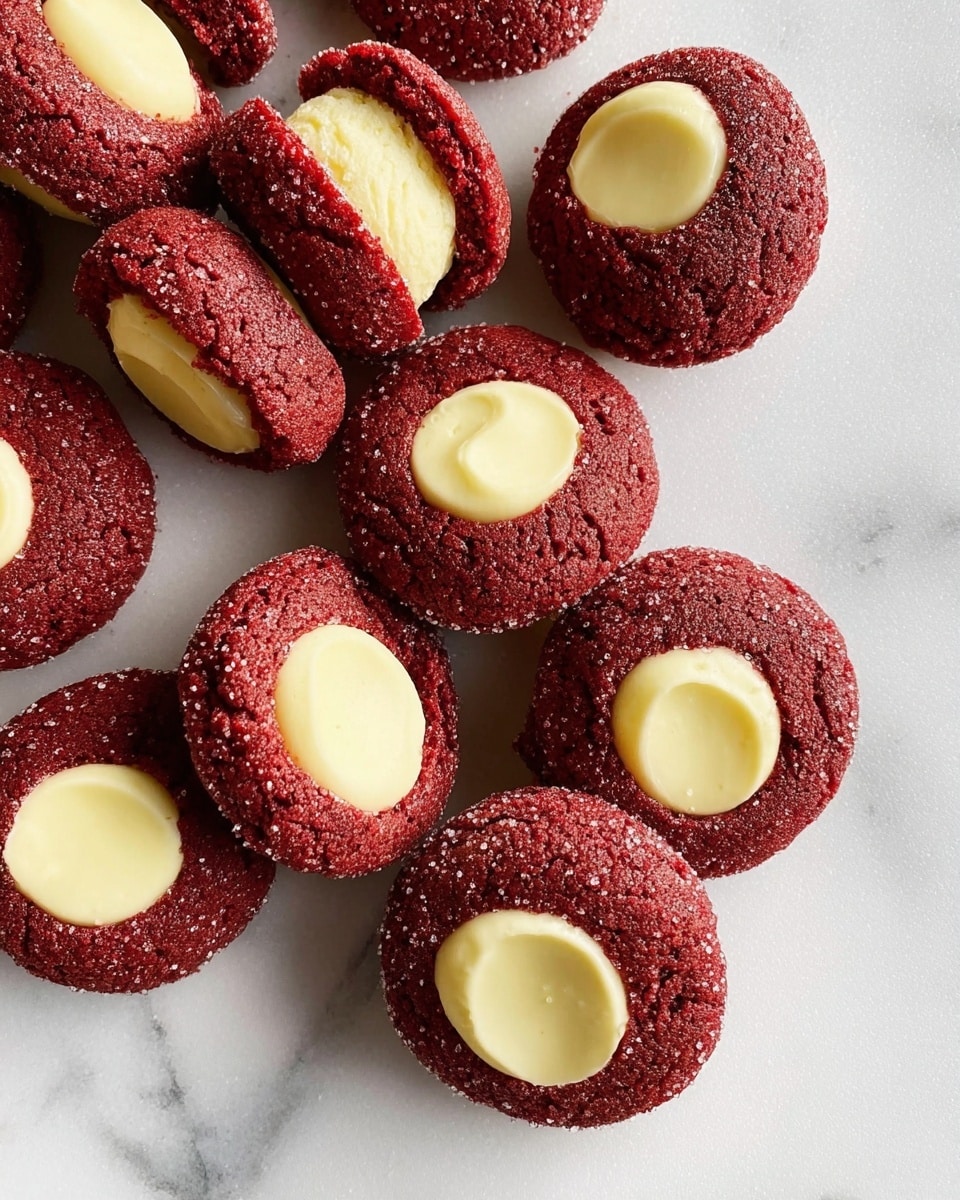
These Red Velvet Cheesecake Thumbprints combine a rich, tender red velvet cookie base with a creamy cheesecake center. Perfect for special occasions or when you want a charming, homemade treat that’s as delightful to look at as it is to eat.
Ingredients
- Cookie Dough:
- 2 3/4 cups all-purpose flour
- 1/2 cup natural unsweetened cocoa powder (not Dutch process)
- 1 teaspoon baking powder
- 1/2 teaspoon Kosher or sea salt
- 1/2 cup unsalted butter, softened to room temperature
- 4 ounces (1/2 brick) full-fat brick-style cream cheese, softened to room temperature
- 1 cup granulated sugar
- 1 large egg + 1 large egg yolk, room temperature
- 1 1/2 teaspoons white vinegar (or apple cider vinegar)
- 2 teaspoons pure vanilla extract
- 1 teaspoon red gel food coloring
- Cheesecake Filling:
- 4 ounces (1/2 brick) full-fat brick-style cream cheese, softened to room temperature
- 2 tablespoons granulated sugar
- 1 large egg yolk, room temperature
- 1/2 teaspoon pure vanilla extract
- For Rolling:
- 1/4 cup granulated sugar
Instructions
- Step 1: In a large bowl, whisk together flour, cocoa powder, baking powder, and salt. Set aside.
- Step 2: In a separate large bowl, beat butter and cream cheese with an electric mixer until light and fluffy, about 2 minutes.
- Step 3: Add granulated sugar and continue to cream. Then mix in the egg, egg yolk, vinegar, vanilla extract, and red gel food coloring until combined.
- Step 4: Gradually add the dry ingredients in three additions, mixing completely after each addition.
- Step 5: Divide the dough into quarters, wrap each in plastic wrap, and chill for at least 3 hours or up to 3 days.
- Step 6: Preheat oven to 300°F (150°C). Line two baking sheets with parchment paper.
- Step 7: Prepare the cheesecake filling by beating cream cheese until fluffy, then mix in sugar, egg yolk, and vanilla extract. Transfer to a piping bag or a zip-top sandwich bag and set aside.
- Step 8: Pour the rolling sugar into a small bowl.
- Step 9: Scoop the chilled dough by tablespoons and roll into balls. Roll each ball in sugar and place them at least 2 inches apart on the prepared baking sheets.
- Step 10: Use the back of a rounded 1/2 teaspoon to gently press a well into each dough ball, carefully pinching any large cracks back together.
- Step 11: Bake cookies for 10 minutes. Remove from oven and press the back of a rounded 1 teaspoon measuring spoon into each well again to deepen the indentation.
- Step 12: Pipe cheesecake filling into each well, tap the pan gently to release air bubbles, then bake for another 10 minutes until the cheesecake is set and slightly puffed.
- Step 13: Let cookies cool on the baking sheets for 10 minutes, then transfer to a cooling rack to cool completely. Repeat with remaining dough, allowing baking sheets to return to room temperature between batches.
- Step 14: Refrigerate cookies for at least 45 minutes before serving.
Tips & Variations
- Make sure the cream cheese and butter are softened to room temperature for easier mixing and a smoother dough.
- Use red gel food coloring for vibrant color without altering the dough consistency.
- If the cookie dough cracks while pressing the wells, gently pinch the cracks together to prevent filling leaks.
- For a festive touch, sprinkle a few white chocolate chips or red sugar crystals on top of the cheesecake filling before baking.
Storage
Store the chilled cookies in an airtight container in the refrigerator for up to five days. To enjoy, serve them cold or let them sit at room temperature for a few minutes. These cookies do not freeze well because of the cheesecake filling.
How to Serve
Serve this delicious recipe with your favorite sides.
FAQs
Can I use Dutch process cocoa powder instead of natural cocoa?
It’s best to use natural unsweetened cocoa powder here because Dutch process cocoa has a different pH level and can affect the red velvet color and texture.
Can I make the cheesecake filling ahead of time?
Yes, you can prepare the cheesecake filling a few hours ahead and keep it refrigerated in a piping bag or covered bowl until ready to use.
PrintRed Velvet Cheesecake Thumbprints Recipe

Delightfully soft and rich red velvet cookies filled with a creamy cheesecake center, baked to perfection and rolled in sugar for a subtle crunch. These Red Velvet Cheesecake Thumbprints are an elegant, festive treat ideal for Valentine’s Day, Oscar night, or any special occasion where you want a beautiful, delicious cookie with a luscious cream cheese filling.
- Prep Time: 25 minutes
- Cook Time: 20 minutes
- Total Time: 3 hours 45 minutes
- Yield: Approximately 36 cookies 1x
- Category: Cookies
- Method: Baking
- Cuisine: American
Ingredients
Cookie Dough:
- 2 3/4 cups all-purpose flour
- 1/2 cup natural unsweetened cocoa powder (not Dutch process)
- 1 teaspoon baking powder
- 1/2 teaspoon Kosher or sea salt
- 1/2 cup unsalted butter, softened to room temperature
- 4 ounces (1/2 brick) full-fat brick-style cream cheese, softened to room temperature
- 1 cup granulated sugar
- 1 large egg + 1 large egg yolk, room temperature
- 1 1/2 teaspoons white vinegar (or apple cider vinegar)
- 2 teaspoons pure vanilla extract
- 1 teaspoon red gel food coloring
Cheesecake Filling:
- 4 ounces (1/2 brick) full-fat brick-style cream cheese, softened to room temperature
- 2 tablespoons granulated sugar
- 1 large egg yolk, room temperature
- 1/2 teaspoon pure vanilla extract
For Rolling:
- 1/4 cup granulated sugar
Instructions
- Mix dry ingredients: In a large mixing bowl, whisk together the all-purpose flour, unsweetened cocoa powder, baking powder, and salt. Set aside to be combined later.
- Cream butter and cheese: In a separate large mixing bowl, use an electric mixer to beat the butter and cream cheese together until the mixture is light and fluffy, about 2 minutes.
- Add sugar and eggs: Incorporate the granulated sugar into the butter and cream cheese mixture, then beat in the whole egg and egg yolk, followed by the vinegar, vanilla extract, and red gel food coloring until evenly combined.
- Combine dry and wet ingredients: Add the dry flour mixture in three installments to the wet ingredients, mixing completely after each addition to form the cookie dough.
- Chill the dough: Divide the dough into four equal portions, wrap each tightly in plastic wrap, and refrigerate for at least 3 hours or up to 3 days to firm up.
- Preheat oven and prepare trays: When ready to bake, preheat the oven to 300°F (150°C) and line two baking sheets with parchment paper.
- Prepare cheesecake filling: In a small mixing bowl, beat the cream cheese until fluffy, then add sugar, egg yolk, and vanilla extract. Mix until smooth, transfer the filling to a piping bag or zip-top sandwich bag, and set aside.
- Roll dough balls: Place the rolling sugar in a small bowl. Scoop tablespoon-sized portions of cookie dough and roll each into a ball. Roll each ball in the sugar to coat well and space them at least 2 inches apart on the prepared baking sheets.
- Create wells in the dough balls: Using the back of a rounded 1/2 teaspoon, gently press a well into the center of each dough ball. If the dough cracks, carefully pinch the cracks to seal.
- Bake first stage: Bake the cookies for 10 minutes. Remove from the oven and press the centers again gently with the back of a rounded 1 teaspoon measuring spoon to deepen the wells before adding the filling.
- Fill centers and finish baking: Pipe the cheesecake filling into the wells. Tap the baking sheets gently on the counter to release air bubbles, then return to the oven to bake an additional 10 minutes, or until the cheesecake is set and slightly puffed.
- Cool the cookies: Let the cookies cool on the pans for 10 minutes, then transfer carefully to a wire rack to cool completely. The cheesecake centers will deflate slightly as they cool.
- Repeat with remaining dough: Repeat the rolling, filling, and baking steps with the remaining dough, allowing the baking sheets to cool to room temperature between batches to ensure even baking.
- Chill before serving: Refrigerate the cookies for at least 45 minutes prior to serving to allow the cheesecake filling to set properly.
- Storage: Store any leftovers in an airtight container in the refrigerator for up to five days to maintain freshness.
Notes
- Use natural unsweetened cocoa powder, not Dutch-process, to achieve the best red velvet color and flavor.
- Make sure all dairy and eggs are at room temperature for proper mixing and texture.
- Red gel food coloring provides a vibrant color without adding extra liquid to the dough.
- Gently pressing the wells twice helps maintain the shape after baking and provides enough space for the cheesecake filling.
- Refrigerate cookies before serving to ensure the cheesecake filling is firm and chilled.
- Cookies can be made ahead and stored refrigerated, just bring to room temperature briefly before serving if desired.
Keywords: Red Velvet Cookies, Cheesecake Thumbprints, Red Velvet Cheesecake Cookies, Valentine’s Day Cookies, Cream Cheese Cookies, Festive Cookies